
Gladiator Garage System Build and Review
I love organizing. Some may even say I’m slightly OCD about it. The feeling off putting stuff in stuff and then hiding that stuff in other stuff makes me feel like I just won a gold medal from Marie Kondo at the OCD Olympics.
So when we moved into our new home we had “stuff” everywhere as you can imagine, and rightfully so. When we relocated to Texas from Nashville, some things we left in boxes since we knew we would be buying soon so unpacking it would have been silly.
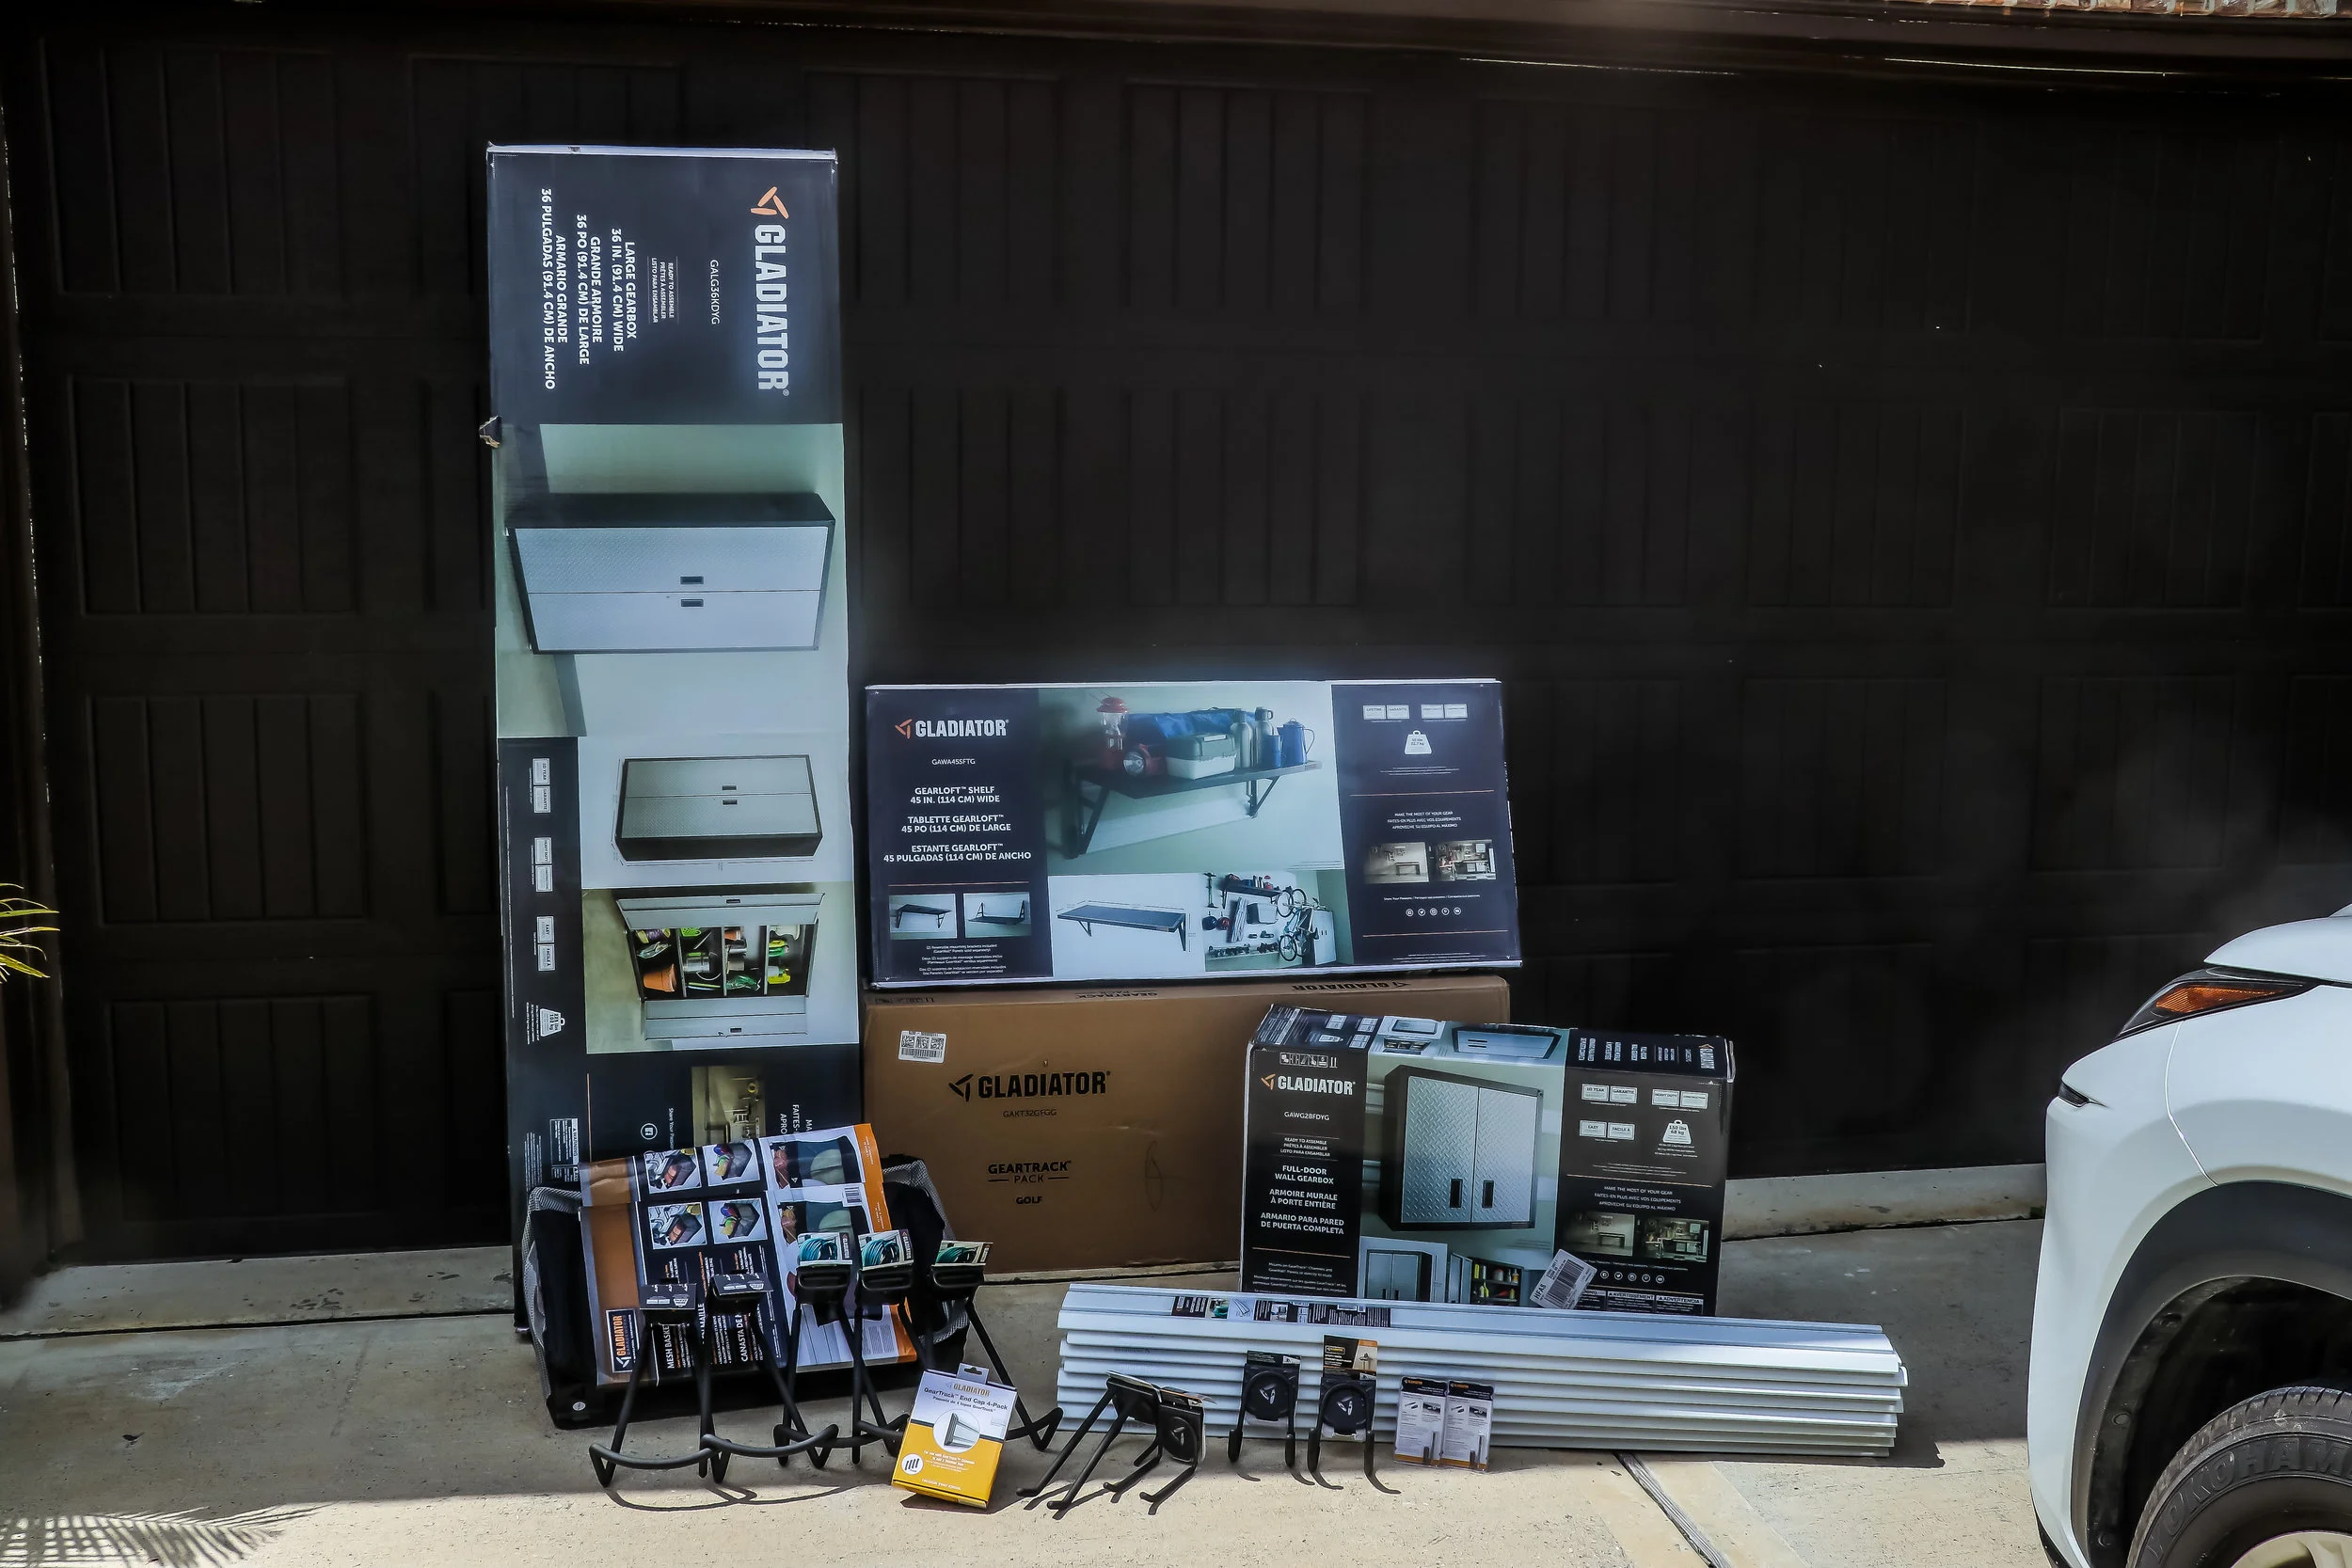
Now that we’re in and getting somewhat settled, we are trying to decrease the clutter and also become more organized. I present to you...the Gladiator Garage Works garage system (insert fireworks here.)
This thing is crazy and the best part is that you can arrange and customize it to fit your space and needs. I’m taking the same approach as I did in building my smart home. However, here’s my disclaimer. After taking this picture and starting the project, I realized how great this product was and ordered a ton of other stuff to start redoing my initial build. Wife = not pumped. But this thing is just like tattoos and home automation it can become addictive, so be careful. Lol, who am I kidding, don’t be careful. Go make your garage awesome and be the talk of the town! “Now get out there and make a difference you crazy kid!”


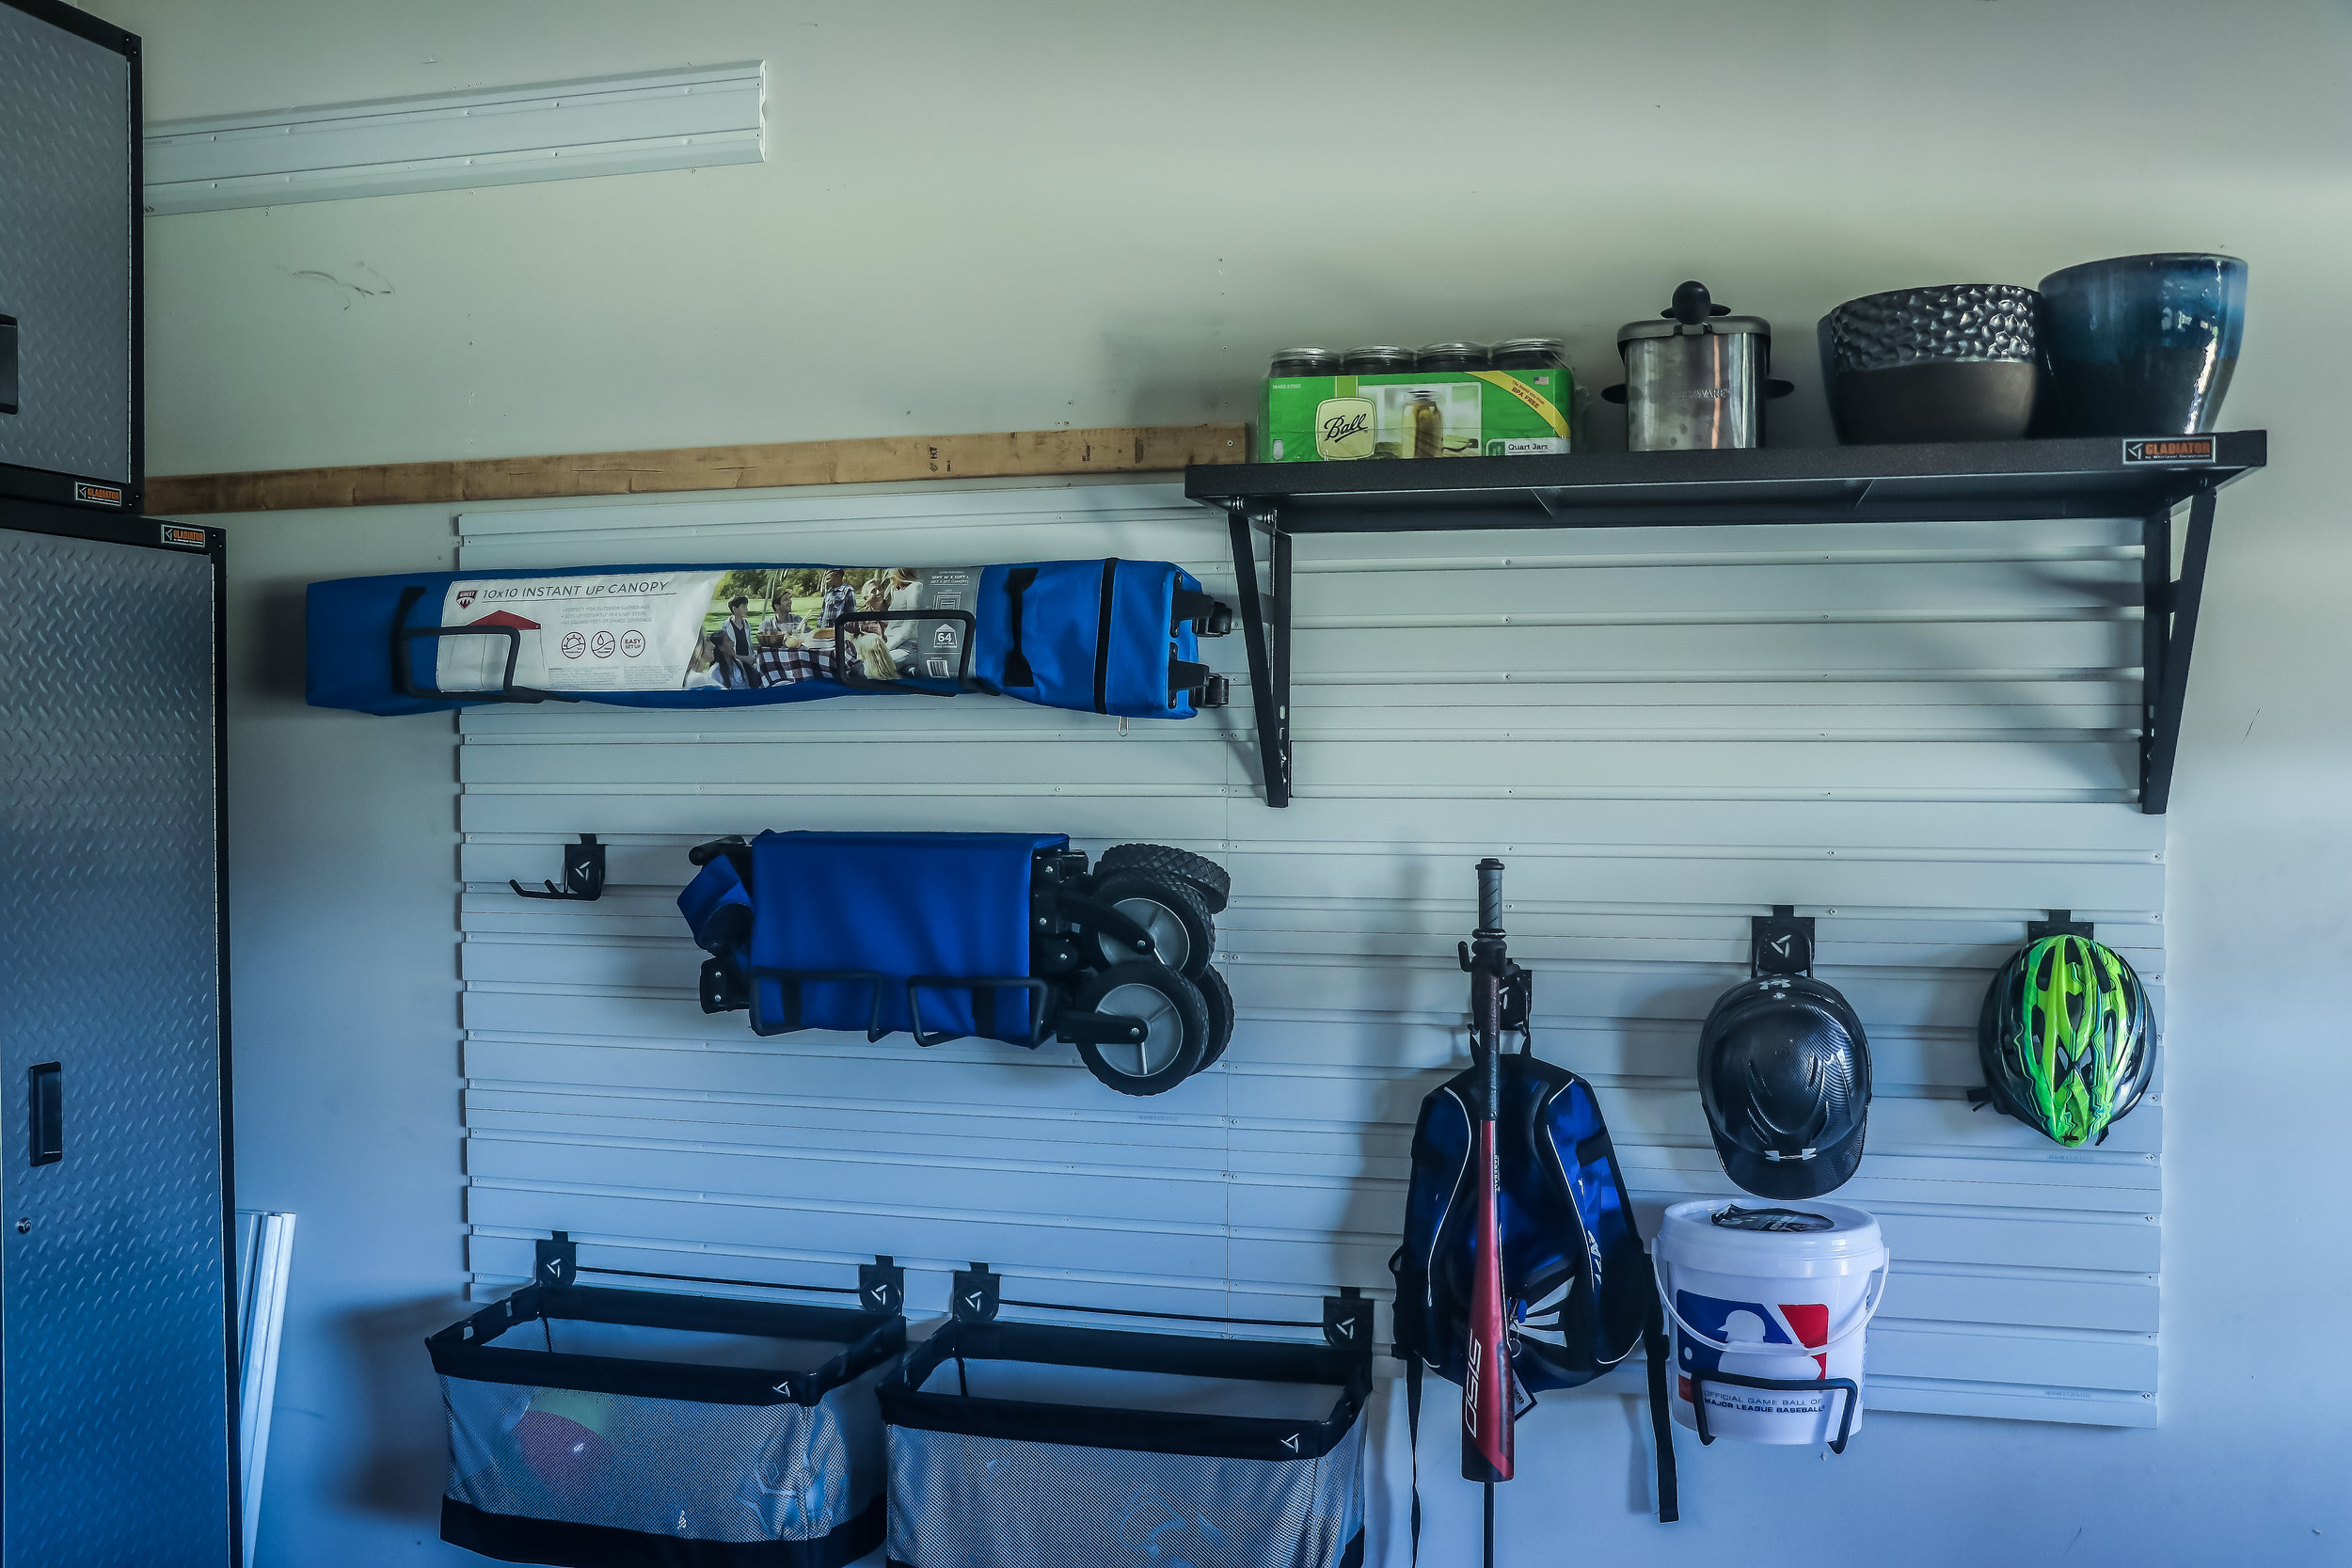

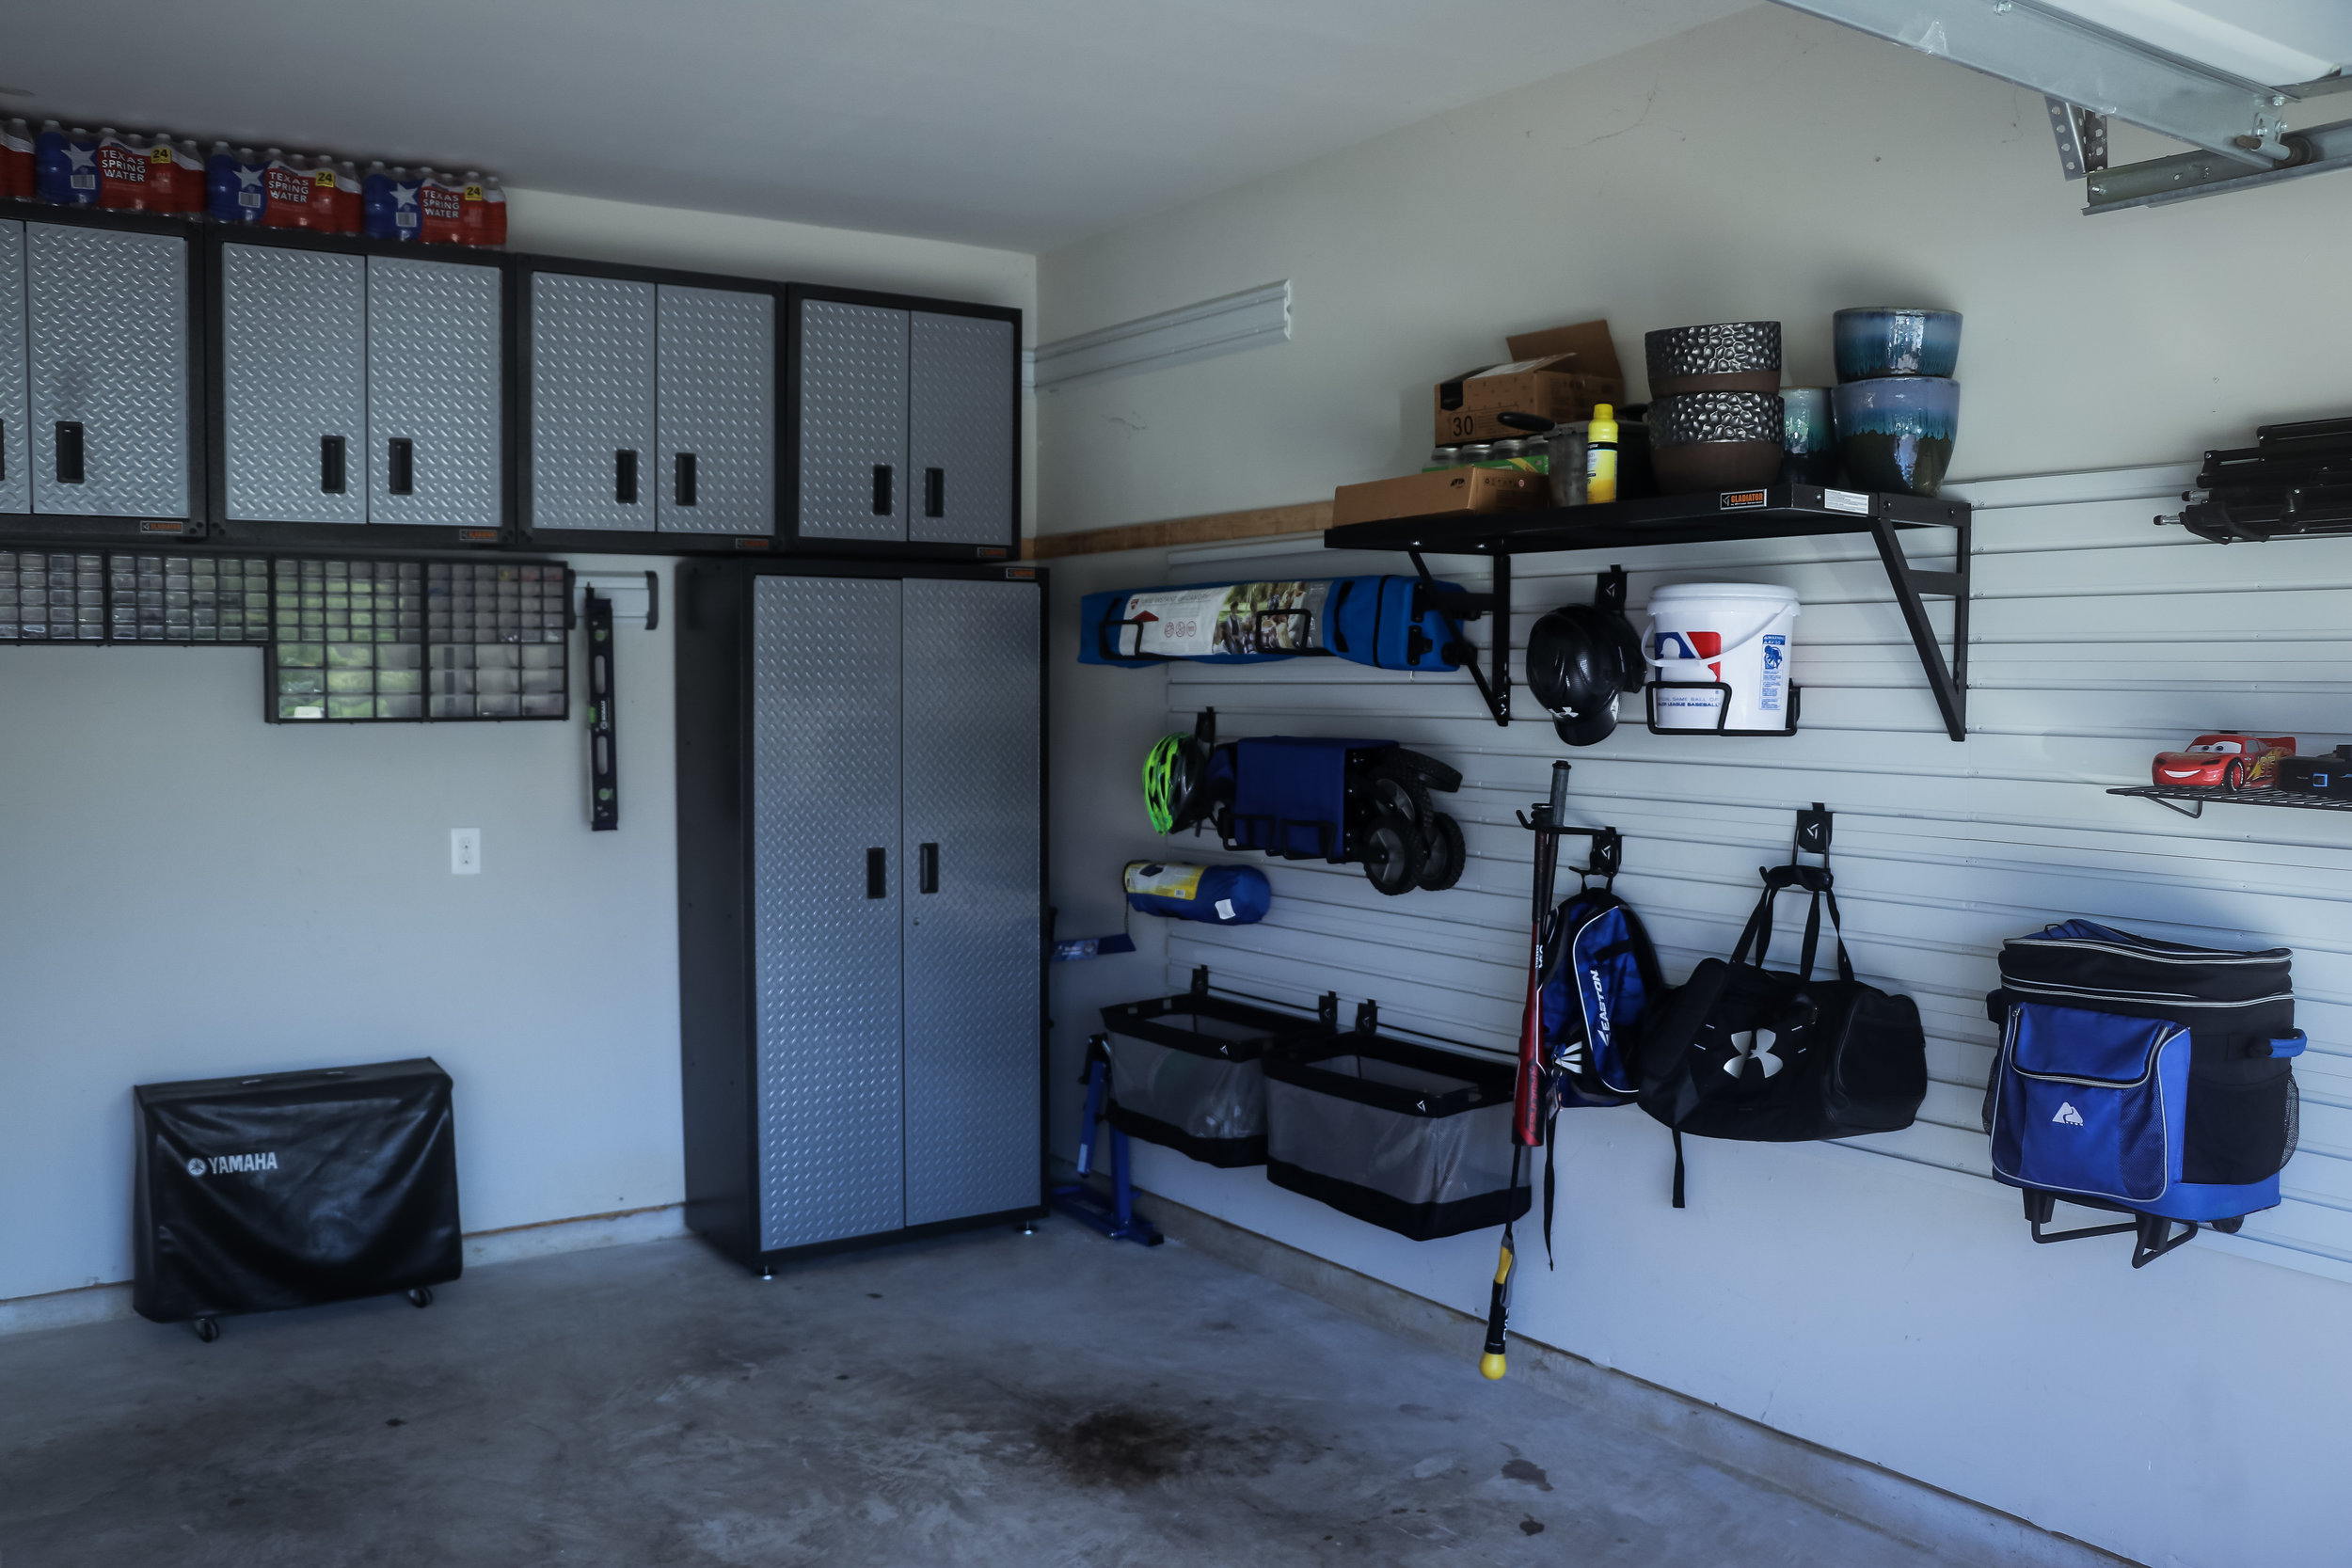
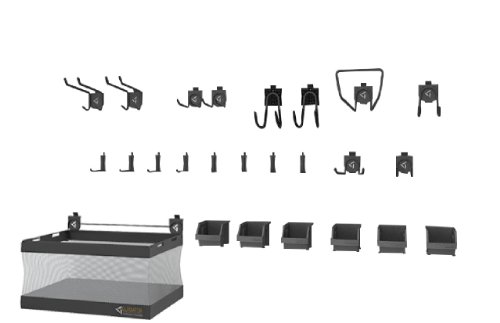
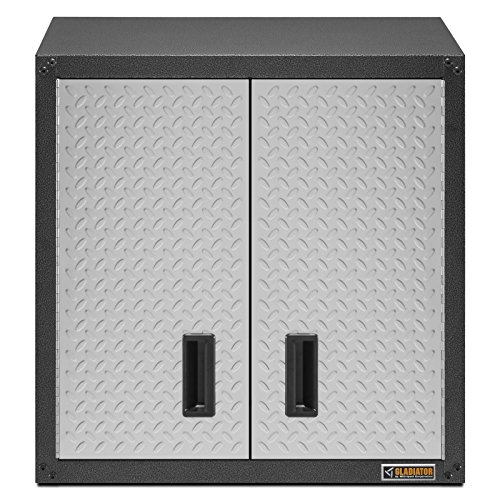
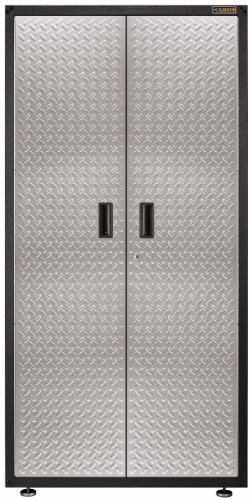
The system is built around wall tracks they call the GearWall and GearTracks, that you mount directly to your studs or masonry and space every few inches apart depending on what accessories you get and what your building. There’s a few different size and length options that you can choose from and each GearWall and GearTrack will hold up to 50 pounds per linear foot, comes with a 10 year limited warranty and are “designed to handle extremes in heat, cold and humidity.” They also make work tables, tool chests and a ton of other accessories so you can keep expanding and rearranging as your needs change.
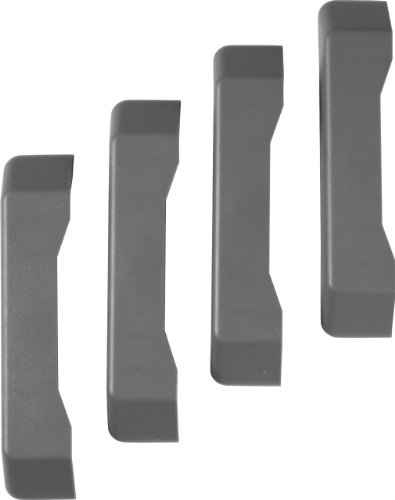
So like I said, I’m building this piece by piece but keeping in mind that my spacing needs to be correct so having the specs on everything is going to be important. I’m starting out with these things to get started...


You’ll need a few additional things like an electric drill, level and a stud finder as well to get the job done. I pre drilled the majority of mine so I would avoid any cracking or having the pieces split, but as I got further along ran a few screws directly into it and was fine. Do yourself a favor and pre drill a small hole 3/4in in on the top and bottom of the inside track to help you stay in sign with the stud.


Your first step should be planning out your space (duh.). If you are going the GearWall route, then start at the bottom and work your way across, making sure you level each piece as you go. Run the GearWall the desired length, then start working your way up. The nice thing about the GearWall is that it has a grove at the top and bottom of each piece so they fit together, making it easy to build up.
I’ve redone mine since initially doing my first build and ran the GearTracks across the top to hold the Full Door Gear Box(s), with the GearWall underneath those. If I can suggest anything, start with the The GearWall. It makes a huge difference in flexibility and functionality and are under $40 for two. Since Jackson is getting really big into sports and loves being outside, this allows us to really move things around and have better access to it.
If you get the system and start building, drop me a line and let me know what you got and how you set it up.
